

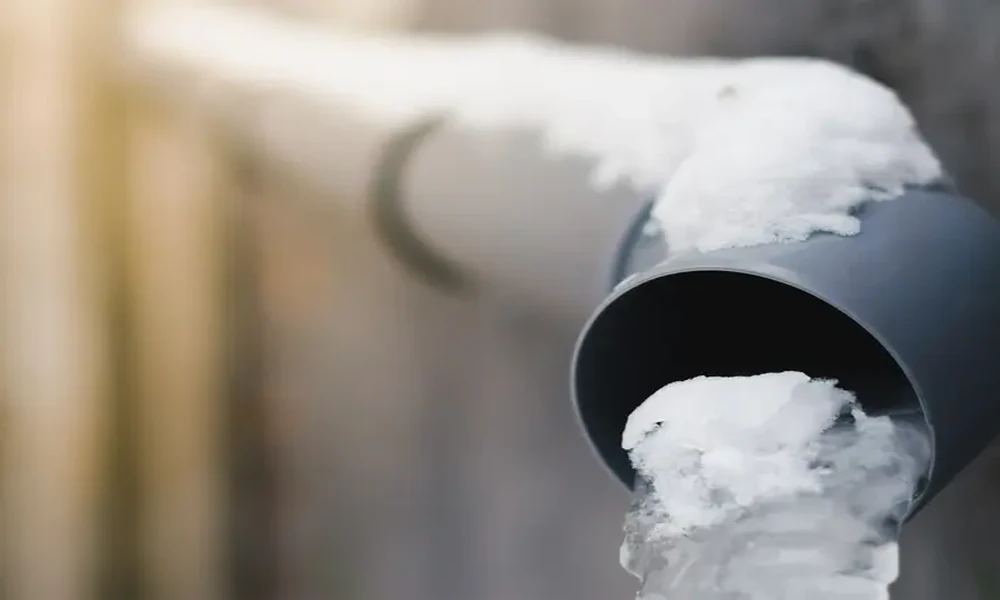
Most burst pipes do not happen at noon on a cold day. They happen overnight, when the temperature drops, the house cools, and nobody is watching. By morning there is a trickle at the faucet, or worse, a ceiling that is already wet. The good news is that a freeze is predictable and preventable. The team at PlumbCrazy sees the aftermath of unprepared homes every winter, so this guide follows the story of a freezing night: what to do before it arrives, what to do while it happens, and how to respond if something goes wrong.
Why Freezing Water Is Such a Problem
Water expands as it turns to ice. That expansion puts enormous pressure on whatever is holding it, and according to the American Red Cross, no pipe is strong enough to be immune, whether it is metal or plastic. The pipe often does not break at the moment it freezes. It cracks, then leaks or bursts once the ice thaws and water starts flowing again.
Act One: Before the Cold Arrives
The best protection happens on a calm autumn weekend, not during the storm. The Red Cross lists the pipes that freeze most often:
- Outdoor hose bibs, pool supply lines, and sprinkler lines
- Supply pipes in unheated areas such as basements, crawl spaces, attics, garages, and kitchen cabinets
- Pipes that run along exterior walls with little or no insulation
Use that list as a walking checklist:
- Disconnect and drain hoses. Store them for winter, close the inside valve that feeds each outdoor spigot, and leave the outside spigot open so any leftover water has room to expand.
- Drain sprinkler and pool lines. Follow the manufacturer’s or installer’s directions, and do not put antifreeze in these lines unless instructed to.
- Insulate exposed pipes. Foam pipe sleeves are inexpensive and easy to fit. The Red Cross also mentions UL-listed heat tape or heat cable for pipes in cold spots.
- Add insulation to attics, basements, and crawl spaces so the whole area stays warmer.
- Check the garage and cabinets. Both hot and cold lines in unheated spaces need protection.
- Locate your main water shutoff. Make sure everyone in the house knows where it is and how to turn it.
Even a quarter inch of newspaper wrapped around an exposed pipe can offer meaningful protection in areas that rarely stay below freezing for long, the Red Cross notes. It is not a long-term solution, but it is better than leaving the pipe bare.
Act Two: The Night of the Freeze
When a hard freeze is in the forecast, a few small habits make a big difference.
- Keep the thermostat steady. Set it to the same temperature day and night. The Red Cross points out that this may raise your heating bill, but it costs far less than repairing a burst pipe.
- Let faucets drip. Choose the faucets served by exposed pipes and let the cold water run at a trickle. Moving water is harder to freeze, and a drip relieves pressure in the line.
- Open cabinet doors. This lets warm air circulate around the plumbing under kitchen and bathroom sinks. Move any cleaners or chemicals out of the reach of children first.
- Keep garage doors closed if there are water supply lines in the garage.
- Do not turn the heat off when traveling. If you are away during cold weather, the Red Cross advises keeping the heat on and set to no lower than 55 degrees Fahrenheit.
Act Three: The Morning After
Turn on a faucet and only a trickle comes out? Suspect a frozen pipe. The Red Cross says likely trouble spots are along exterior walls and where the water service enters the house through the foundation. Here is what to do:
- Keep the faucet open. As the ice melts, running water helps clear the blockage.
- Apply gentle heat. Options include an electric heating pad wrapped around the pipe, a hair dryer, a portable space heater kept away from anything flammable, or towels soaked in hot water.
- Never use open flame. The Red Cross specifically warns against blowtorches, kerosene or propane heaters, and charcoal stoves.
- Keep heating until full pressure returns.
- Check every other faucet. If one pipe froze, others may have too.
- Call a licensed plumber if you cannot find the frozen section, cannot reach it, or cannot thaw it.
If a Pipe Bursts
A burst pipe is an emergency, but a calm response limits the damage.
- Shut off the main water valve right away.
- Turn off electricity to any area where water has reached outlets or appliances, but only if you can do so safely.
- Call a licensed plumber.
- Remove standing water with mops, buckets, or a wet vacuum.
- Take photos of the damage for your insurance claim.
- Dry and ventilate the space as quickly as you can to prevent mold.
After the Thaw: Do Not Skip the Follow Up
A pipe that froze but did not burst may still be weakened. Once temperatures rise, look for:
- Drips or damp spots near joints and fittings
- Water stains on ceilings, walls, or floors
- A drop in water pressure
- A water meter that keeps moving when everything is off
Hidden leaks from freeze damage can go unnoticed for weeks. A professional inspection is worth it if anything seems off.
Make Next Winter Easier
Use what you learned this season. If one area froze, treat it as a permanent problem spot. Permanent pipe insulation, heat tape, or even rerouting an exposed line can save you the same stress every year. The Red Cross also suggests considering relocating exposed pipes when you remodel.
The Bottom Line
A frozen pipe is rarely a surprise. It is the result of cold weather meeting an unprotected line. Do the prep work now, keep the house warm and the water moving when the freeze arrives, and know exactly where your shutoff valve is. If something still goes wrong, a fast response and a call to a licensed plumber can turn a disaster into a minor repair.
